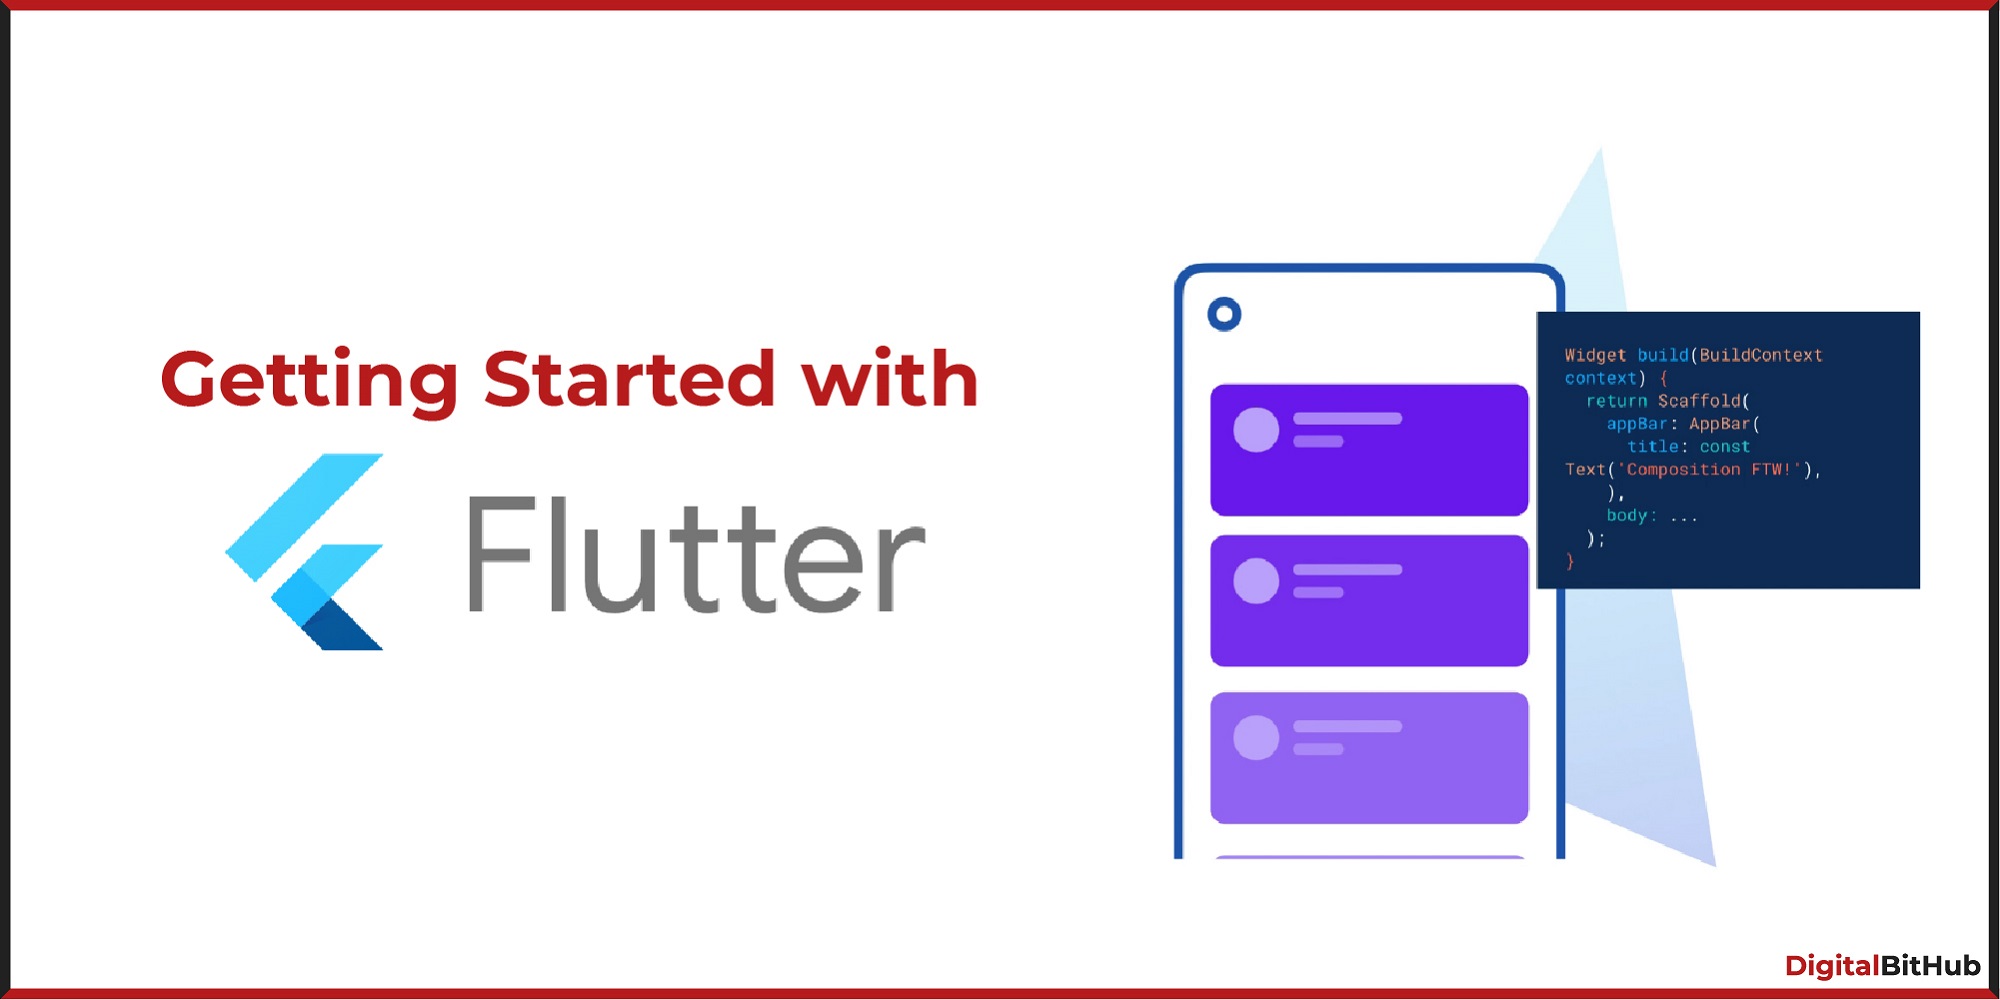
Flutter is a popular mobile app development framework created by Google that allows developers to build high-performance, cross-platform mobile applications. If you're interested in learning how to start with Flutter, this guide will provide you with the basic steps to get you started.
Step 1: Install Flutter
The first step to getting started with Flutter is to install the Flutter SDK. You can download the latest version of the Flutter SDK from the Flutter website. Once downloaded, extract the ZIP file and add the Flutter bin directory to your system PATH.
Step 2: Set Up an IDE
While you can use any text editor to develop Flutter apps, it's recommended to use an Integrated Development Environment (IDE) for a more efficient development process. Two popular IDEs for Flutter development are Android Studio and Visual Studio Code. Install your preferred IDE and install the Flutter and Dart plugins.
Step 3: Create a New Flutter Project
Once you have Flutter and an IDE set up, it's time to create a new Flutter project. Open your IDE and create a new Flutter project by following these steps:
- Click on "Create New Project" or "New Project" in the IDE menu.
- Select "Flutter" as the project type.
- Choose a project name and location.
- Select the desired project options, such as the Flutter SDK version and project template.
Step 4: Run the Flutter App
After creating a new Flutter project, you can run the app on an emulator or physical device. Follow these steps to run the app:
- Connect your device or start an emulator.
- In your IDE, select your device or emulator from the dropdown menu.
- Click on the "Run" button to build and run the app.
Step 5: Learn Flutter Widgets and APIs
Flutter uses a reactive-style programming model called "widgets" to build user interfaces. Flutter provides a large set of pre-built widgets that you can use to create your app's user interface. It's essential to learn these widgets to build effective UIs. Flutter also has a vast library of APIs and packages that you can use to add features and functionality to your app.
Step 6: Test and Deploy Your Flutter App
Testing and debugging are essential steps in the development process. Flutter provides tools for testing and debugging your app, including unit testing, widget testing, and integration testing. Once your app is ready for deployment, you can package it for distribution on the Google Play Store or Apple App Store.
In conclusion, Flutter is an excellent framework for building high-performance, cross-platform mobile apps. With the steps outlined above, you should have a good foundation to get started with Flutter development. However, remember that Flutter is continually evolving, so keep an eye out for new features and updates as you learn and develop your Flutter skills.
